After reflecting on my progress a few weeks ago, I decided to take the following steps:
- Keep sketching every day with a focus on anatomy and the use of colours for a few weeks.
- Create a timeline to clarify my objectives.
- Carry out more research that would include studying the work of artists and learning more about various techniques through books and videos.
So far, I have sketched most days. I have noticed however that I have had a few days without sketching and I have to be careful not to slow down.
Drawing people
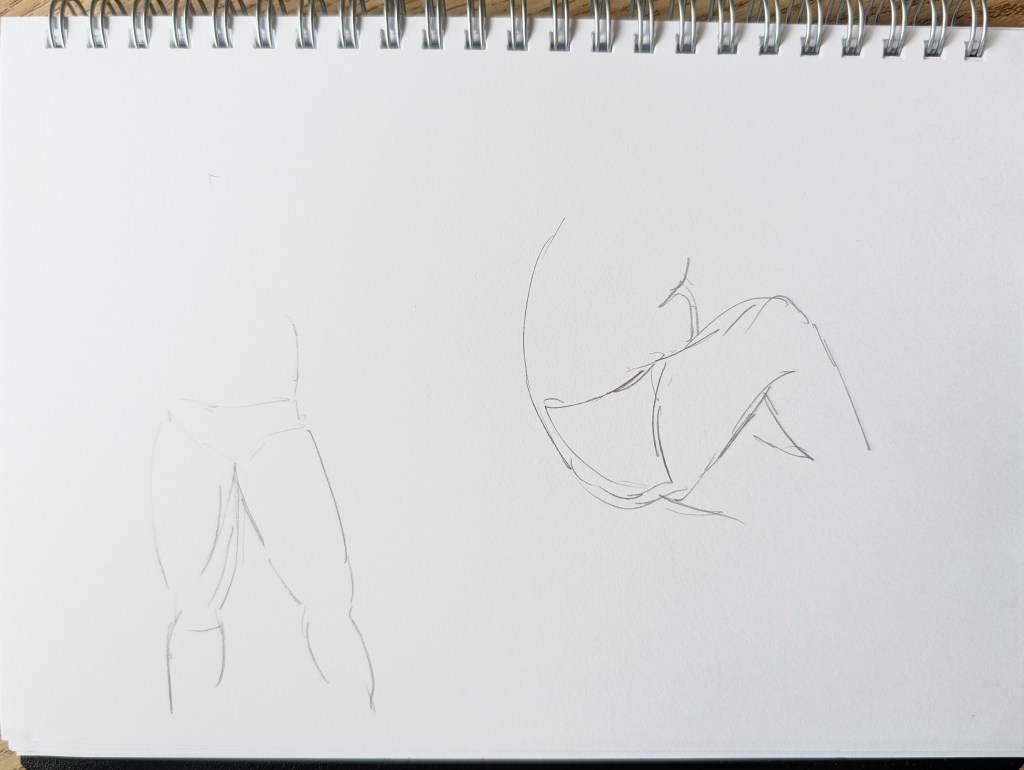
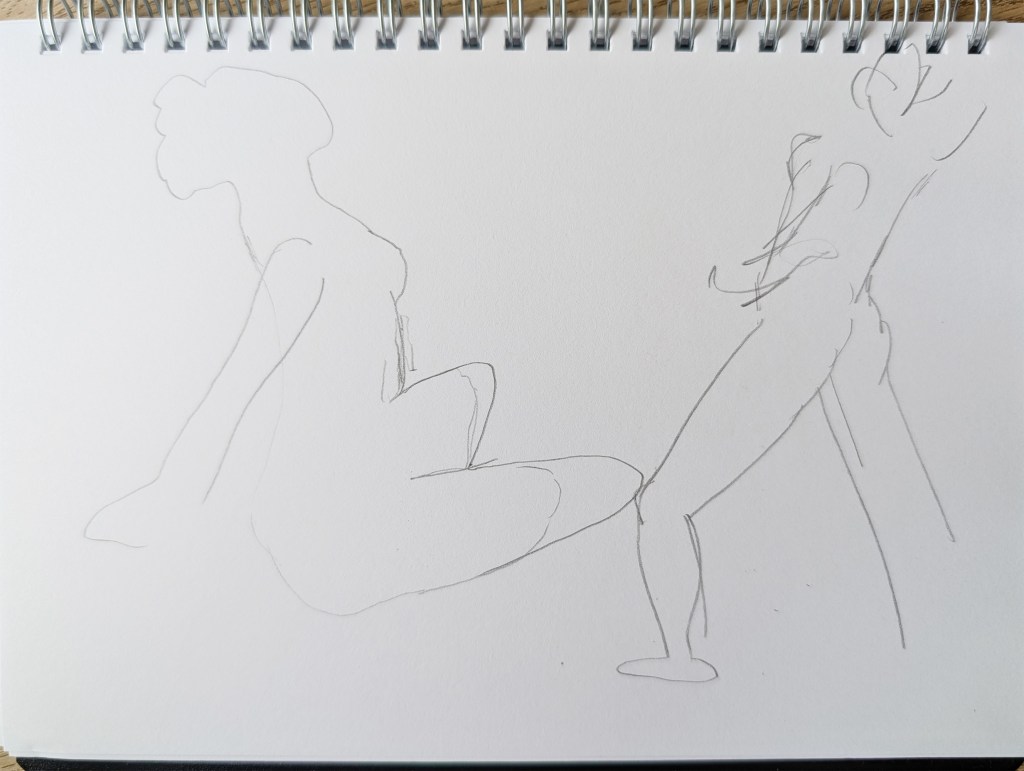
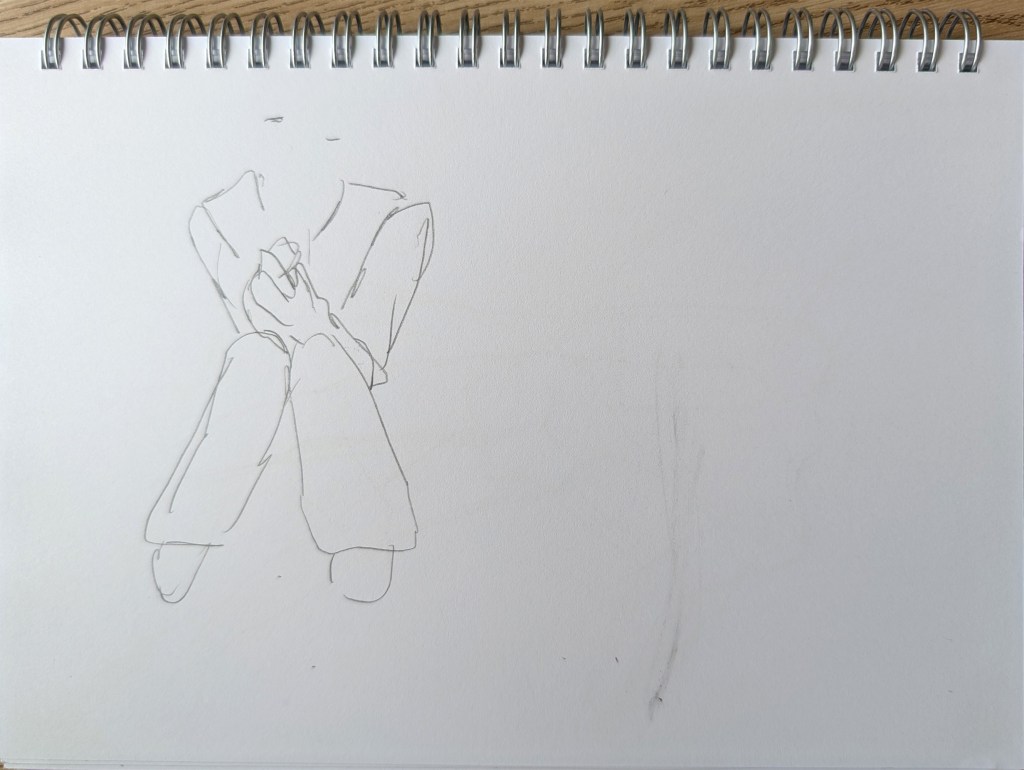
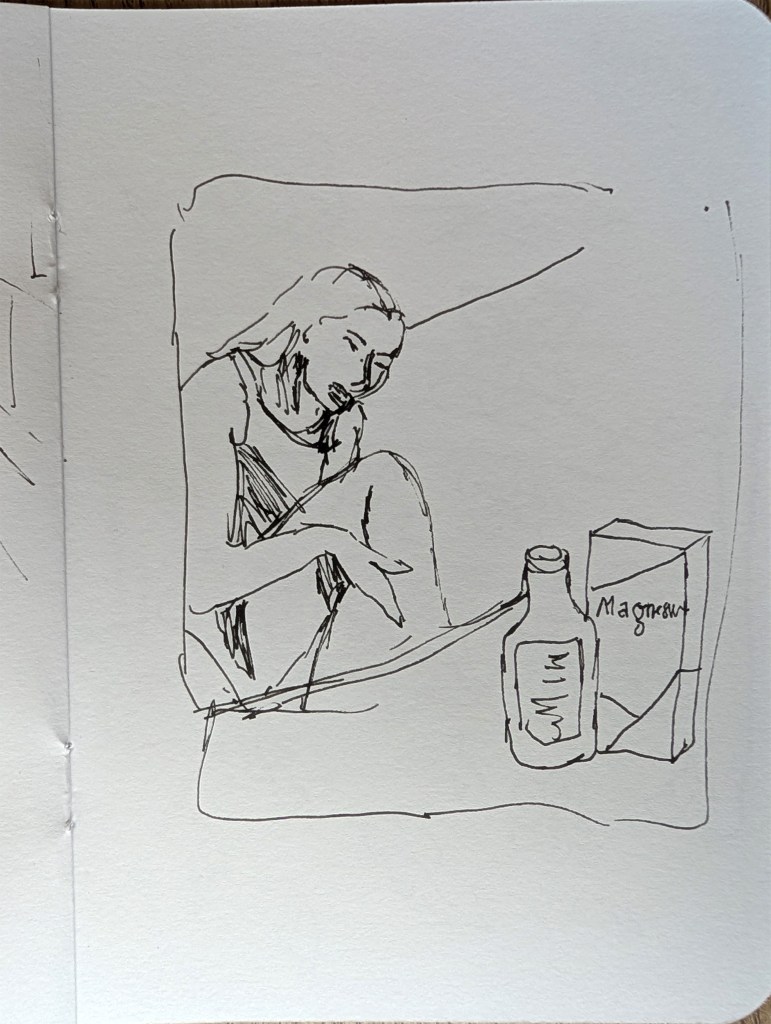
Recently, I have focussed a lot on the human anatomy. When I tried to draw people as part of my studies of characters for Project 2, I realised that I still struggled to draw accurate and dynamic poses, especially from imagination.
To be more familiar with gestures and human anatomy, I have used websites that offer the possibility to do online life drawing sessions. I still find it challenging to capture the movement in a very short time and need more practice, but with the advice of some artists on YouTube, I have started to make some progress in that area. I have tried to follow the advice of one artist in particular (@lovelifedrawing on YouTube: https://www.youtube.com/watch?v=ZH6E_n51-BQ), that consists in drawing only a few fluid lines to define the shape and movement. I still have a tendency to draw too many hesitant lines, but I intent to keep practising.
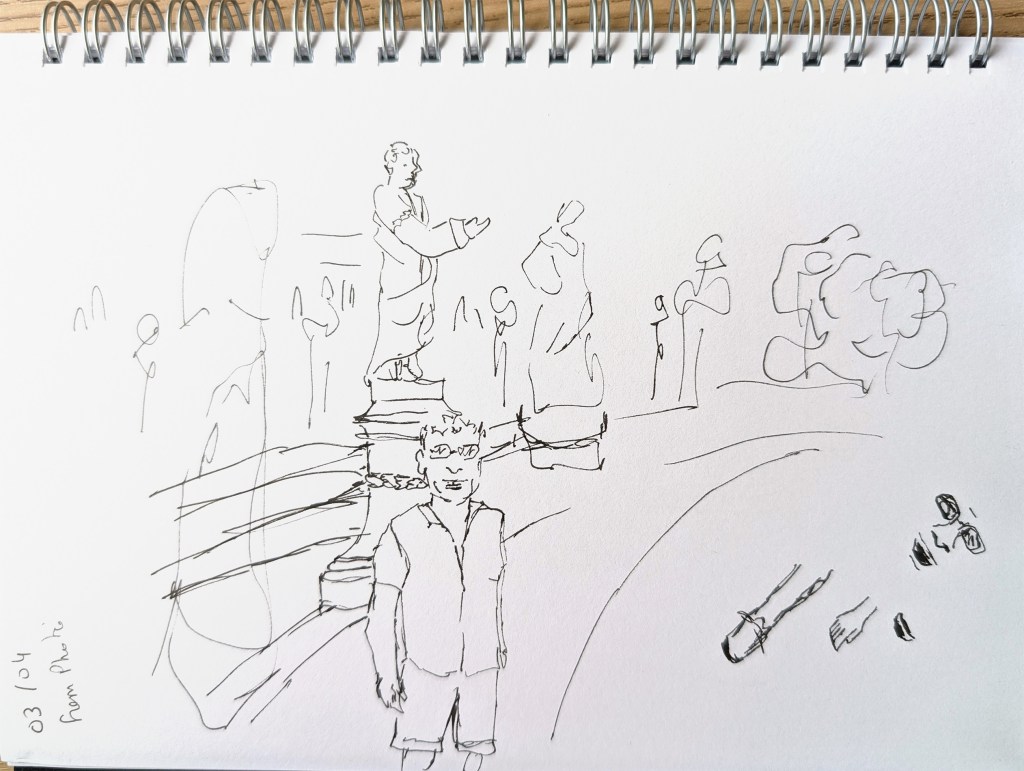
Below are some examples of the sketches I have created. For most of them, I have used line-of-action.com but I have also used websites such as figurosity.com.
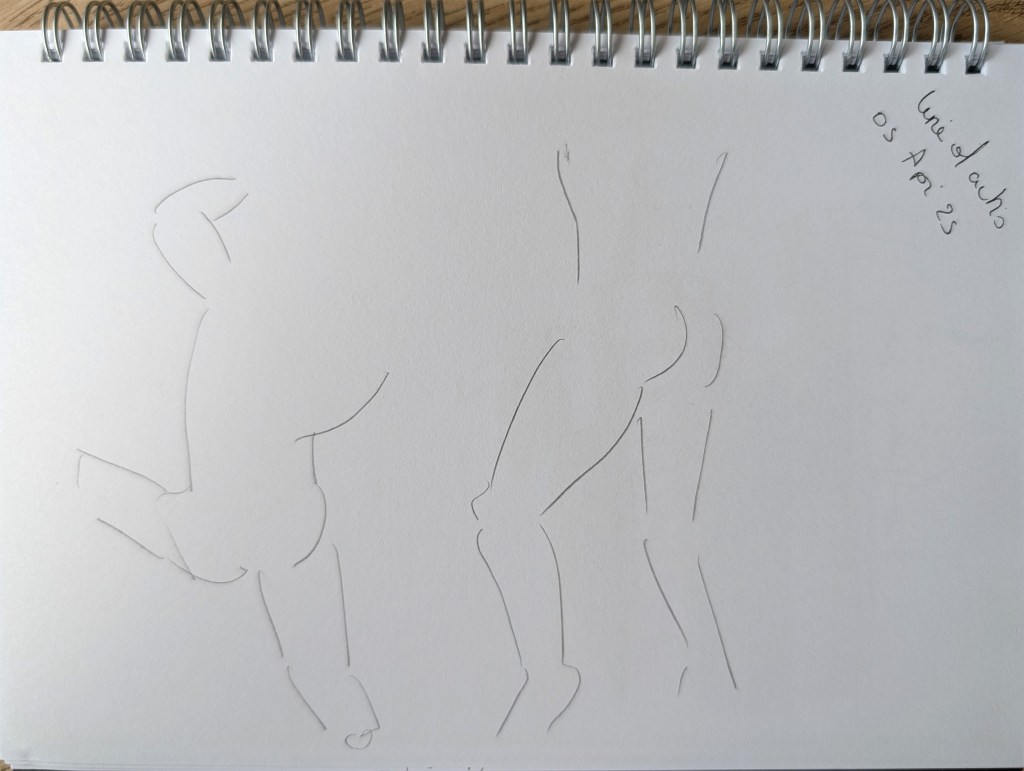


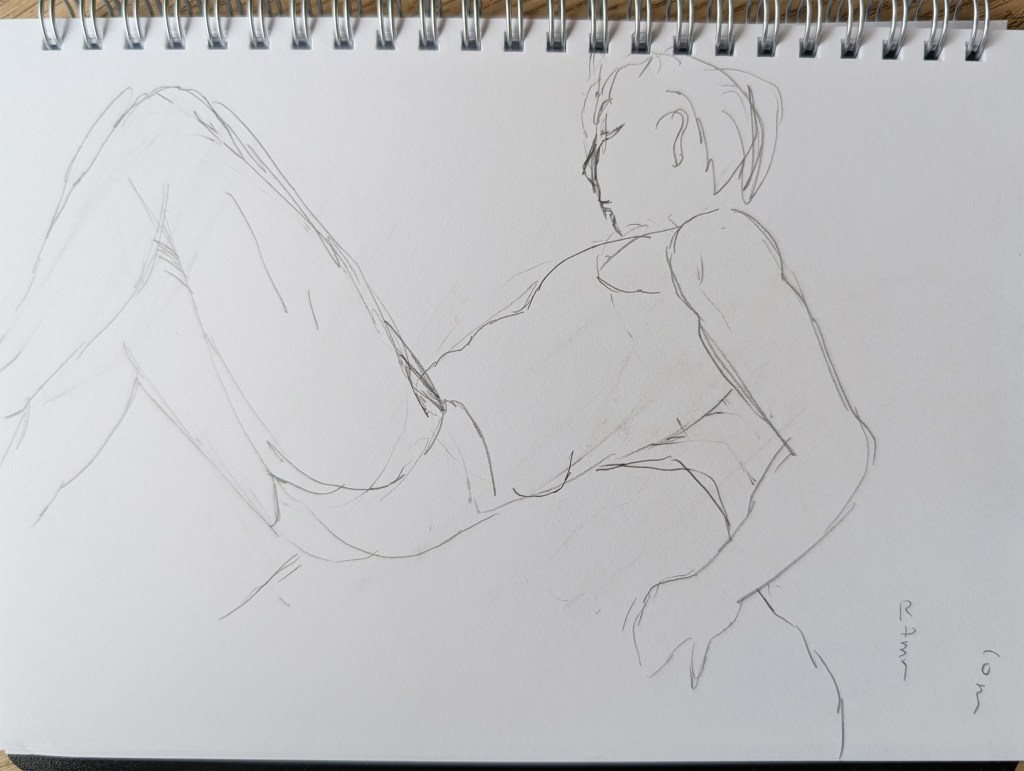

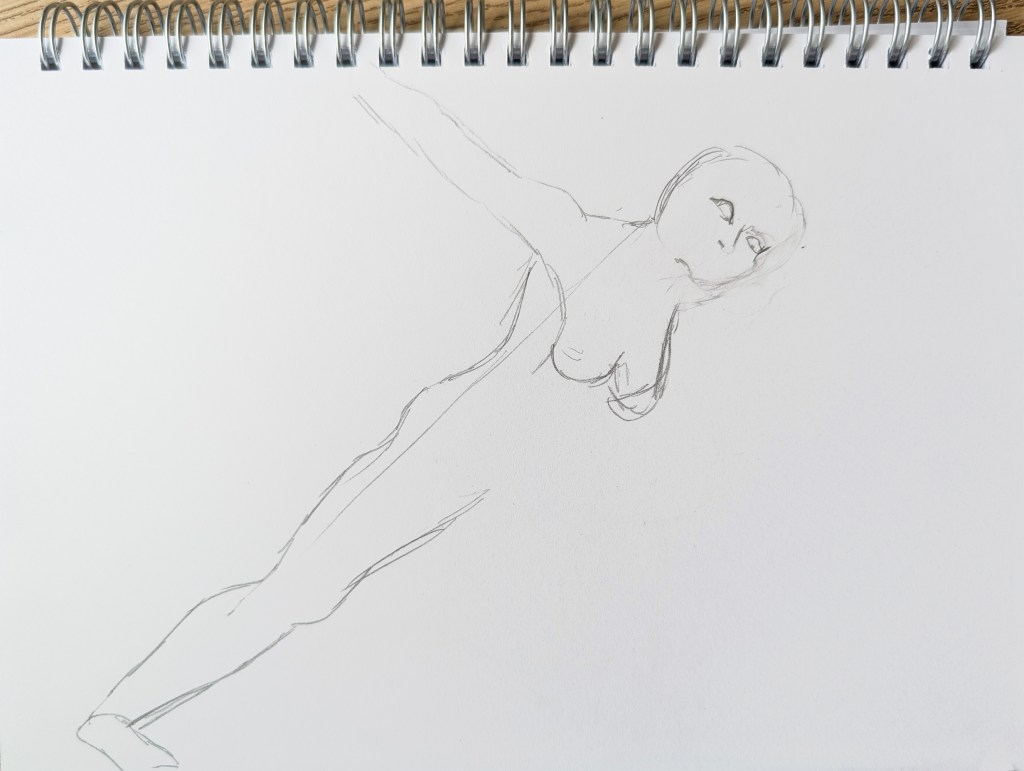
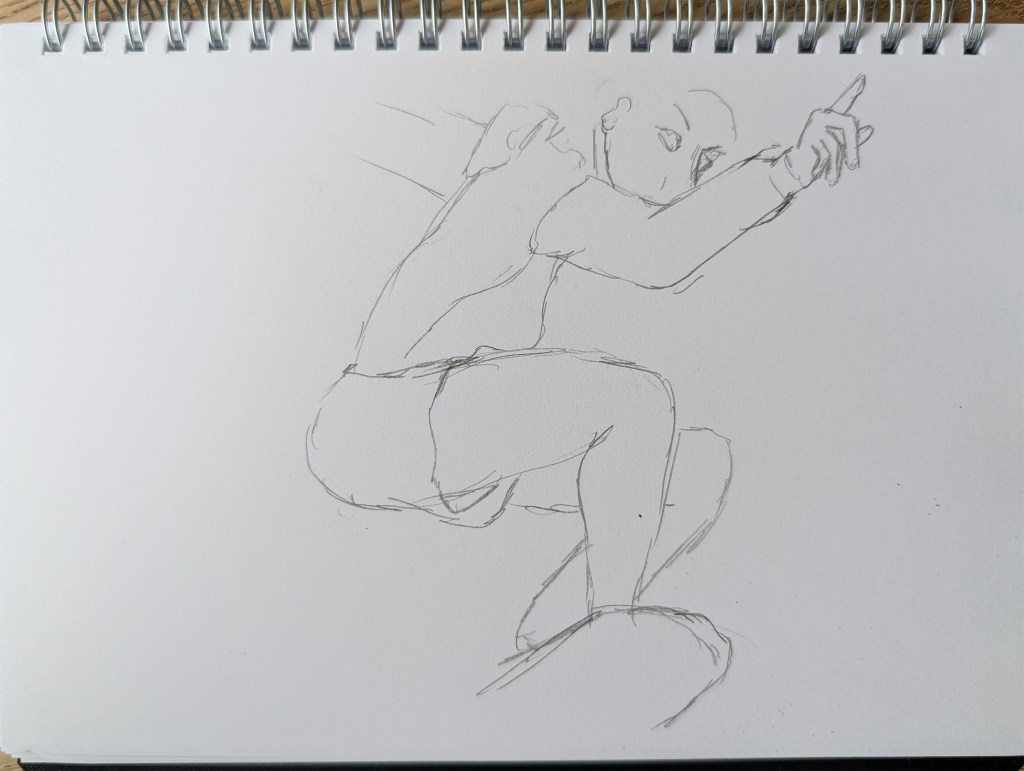

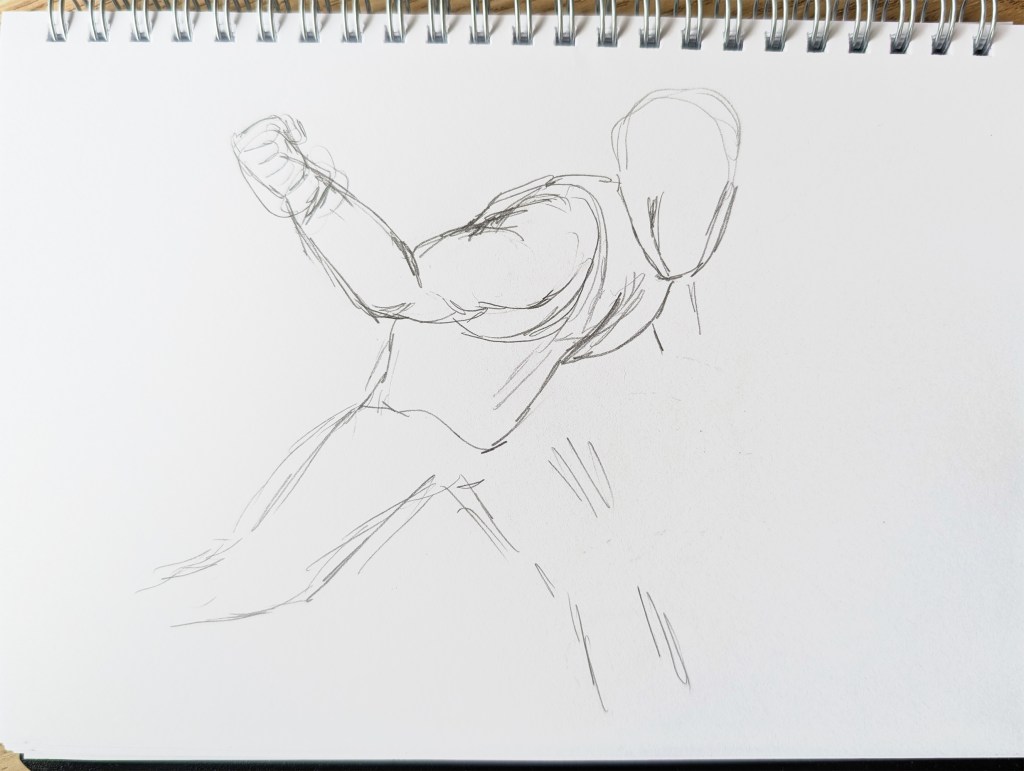
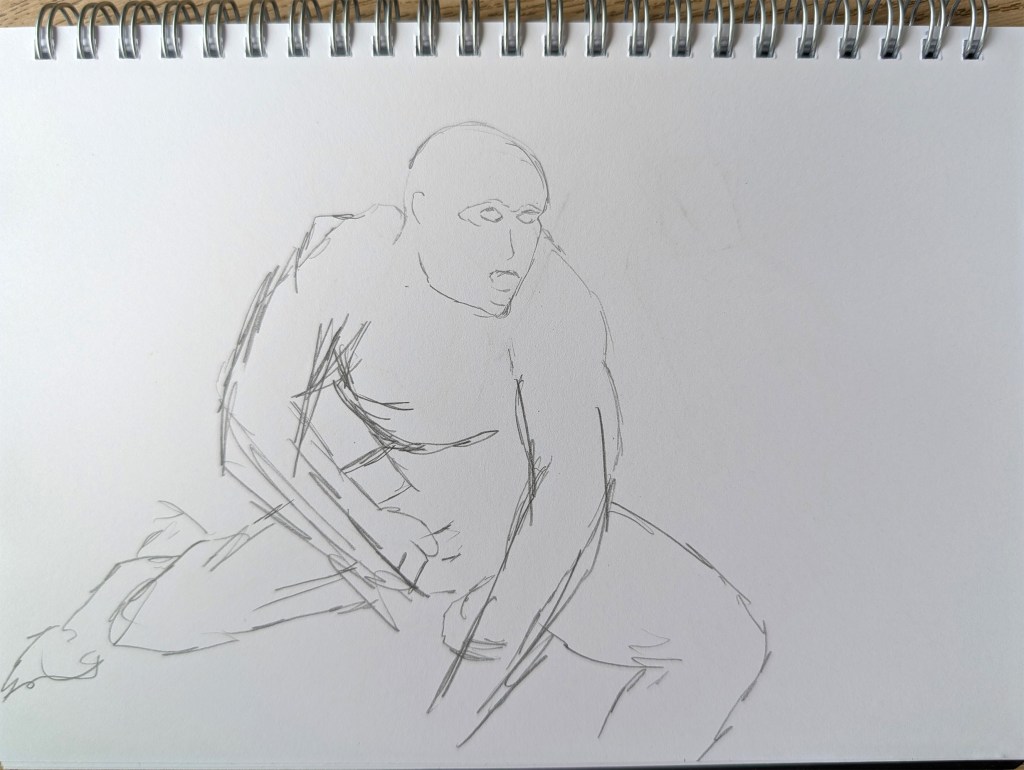


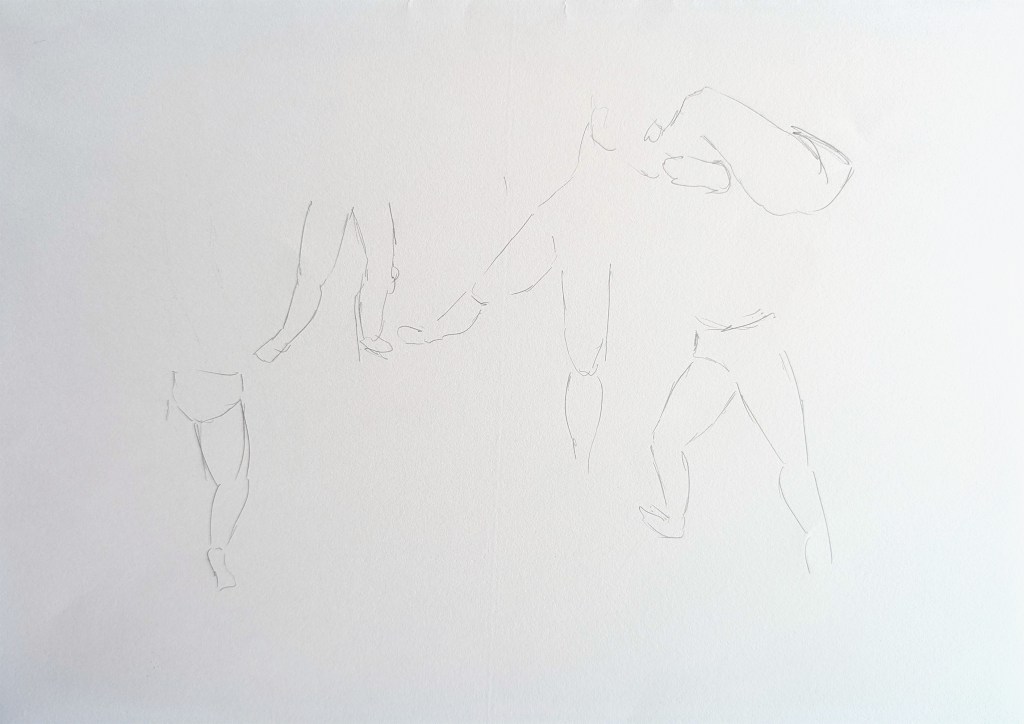
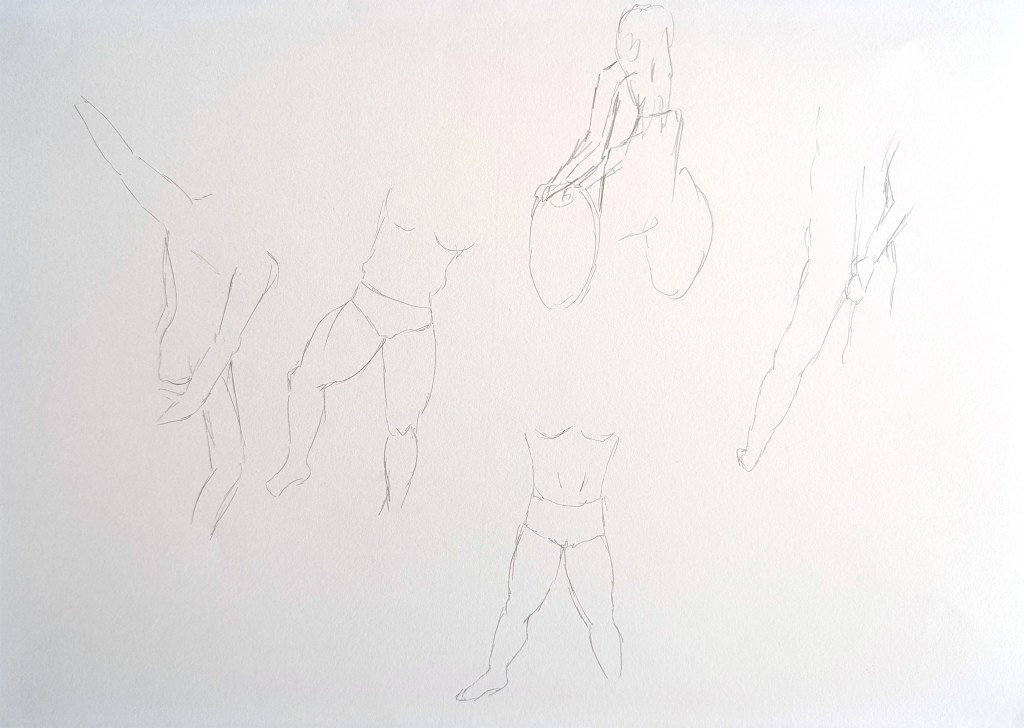

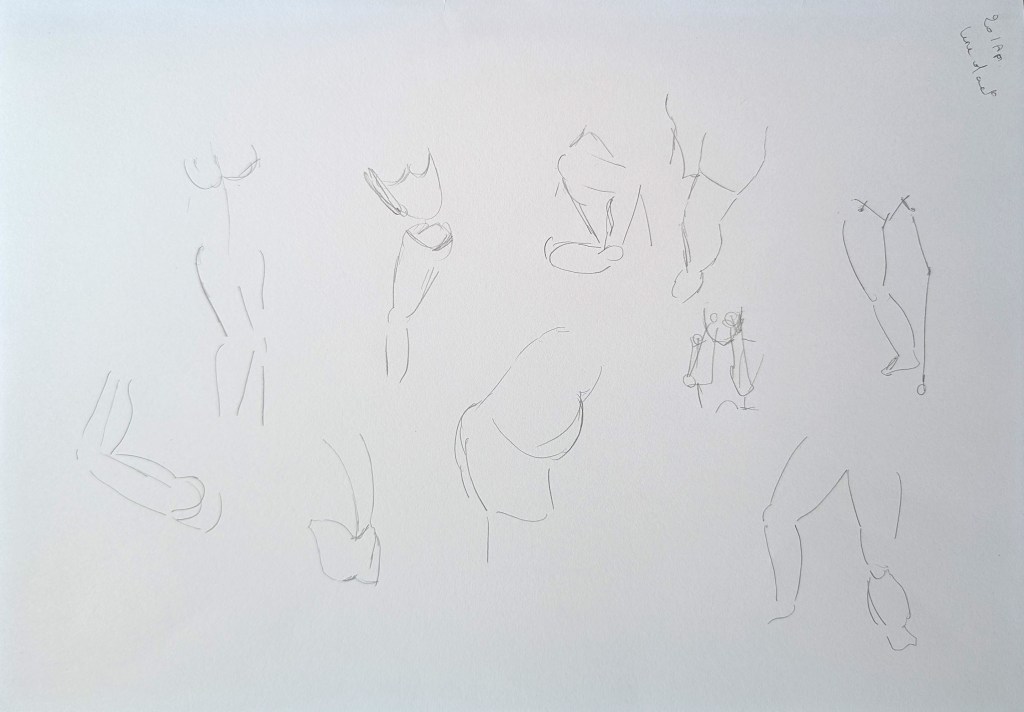
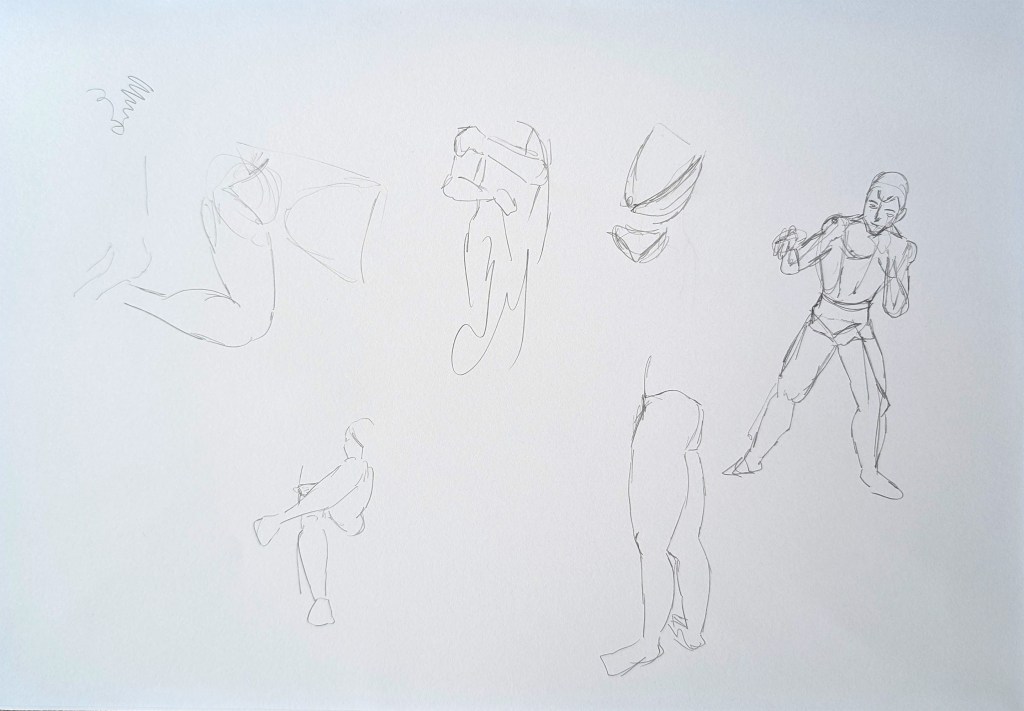


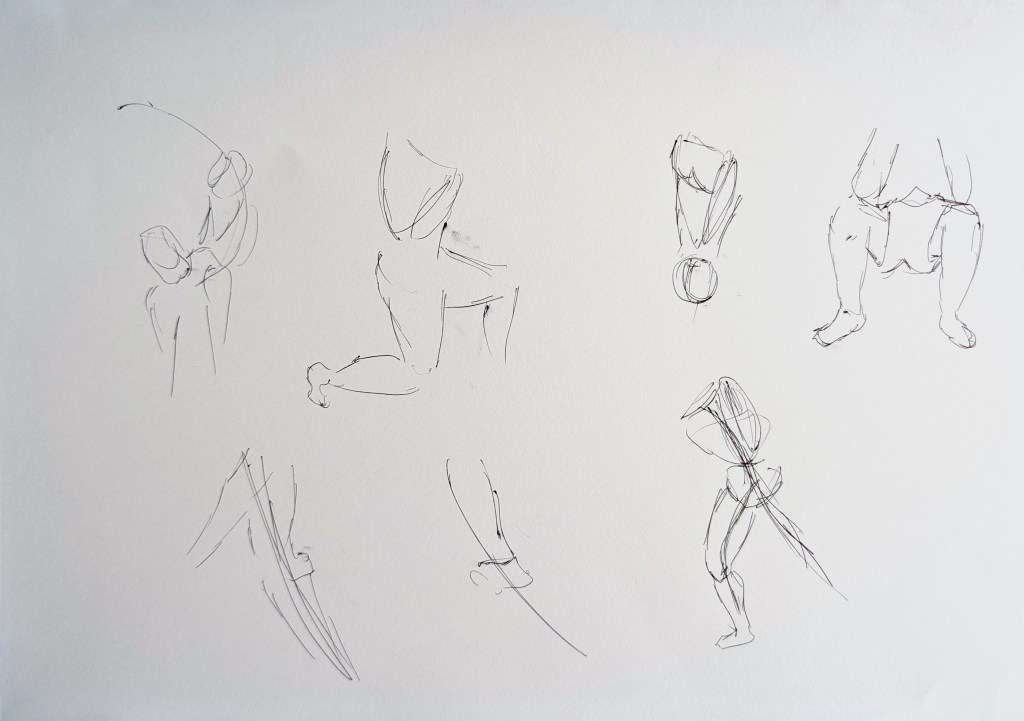

I started with an A5 sketchbook, but I now use A3 or A2 pages so that I can quickly draw multiple sketches fast.
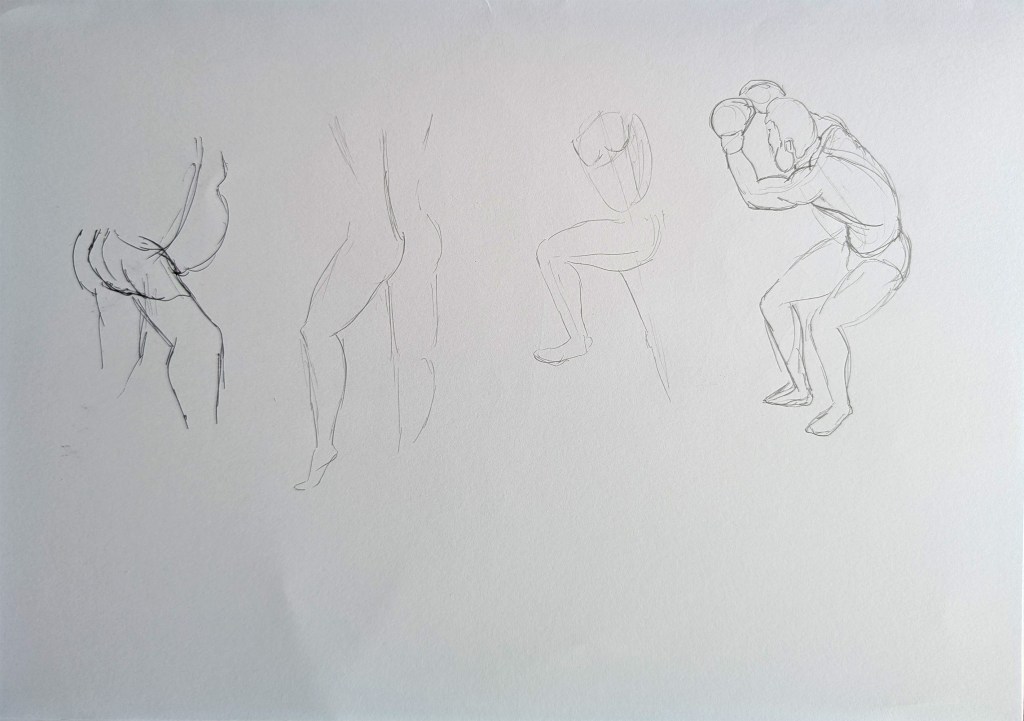
When I draw characters, they often look very stiff. I recently found a video on this subject that has helped me a lot to understand how to improve that (“Why Your Figures Look Stiff (and How to Fix It)” by Tyler Edlin (https://www.youtube.com/watch?v=dQzq1jEUlC8). The artist explains how to add depth by overlapping parts of the body, adding some perspective and rotation. This has made me realise that this rule applies to all compositions including when drawing a person. He also talks about the flow and gives some interesting practice exercises to be more familiar with various poses. I am also following a short course on Udemy.com (“How to Draw – Anatomy and Figure Drawing – Ultimate Course” by Ed Foychuk) to understand better essential muscles. I had already done some research in that area while studying for other units, but I feel that I could do with more practice.
Colours and tones
I first tried to create some sketches on location with watercolour paint or pencils, but I was getting frustrated. I felt as if I was trying too many techniques at the same time. Sketching on location is always harder for me, and concentrating on using colours in parallel was not really working. I therefore decided to warm up with some sketches at home based on photos.
Below are some sketches I created.
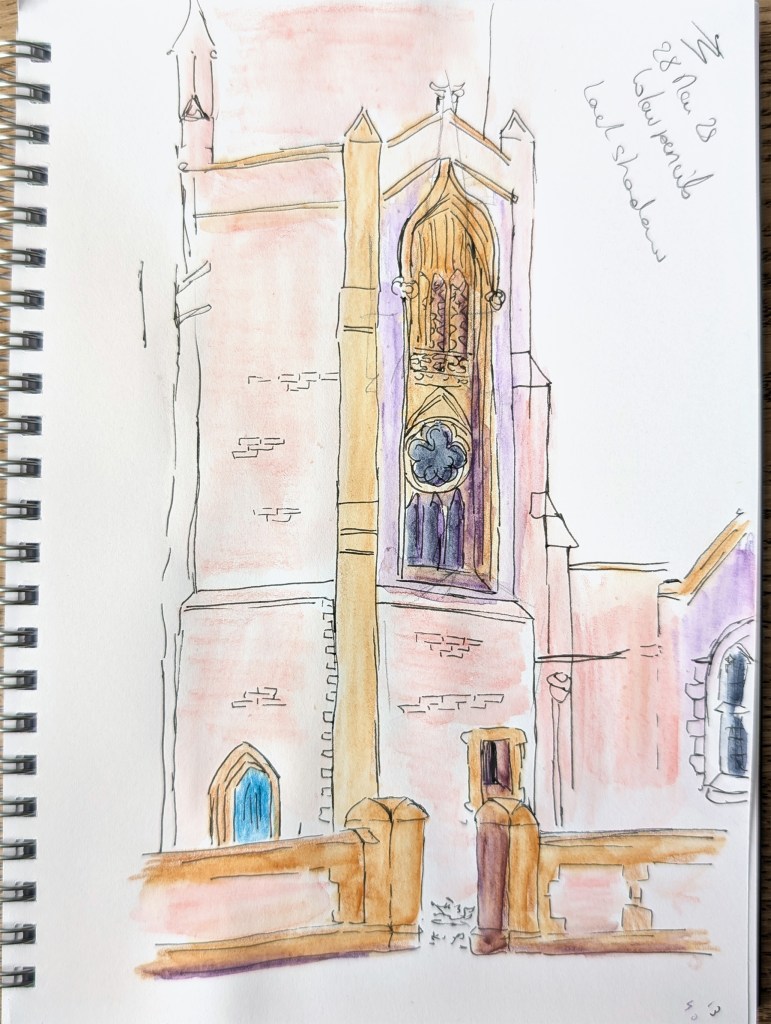
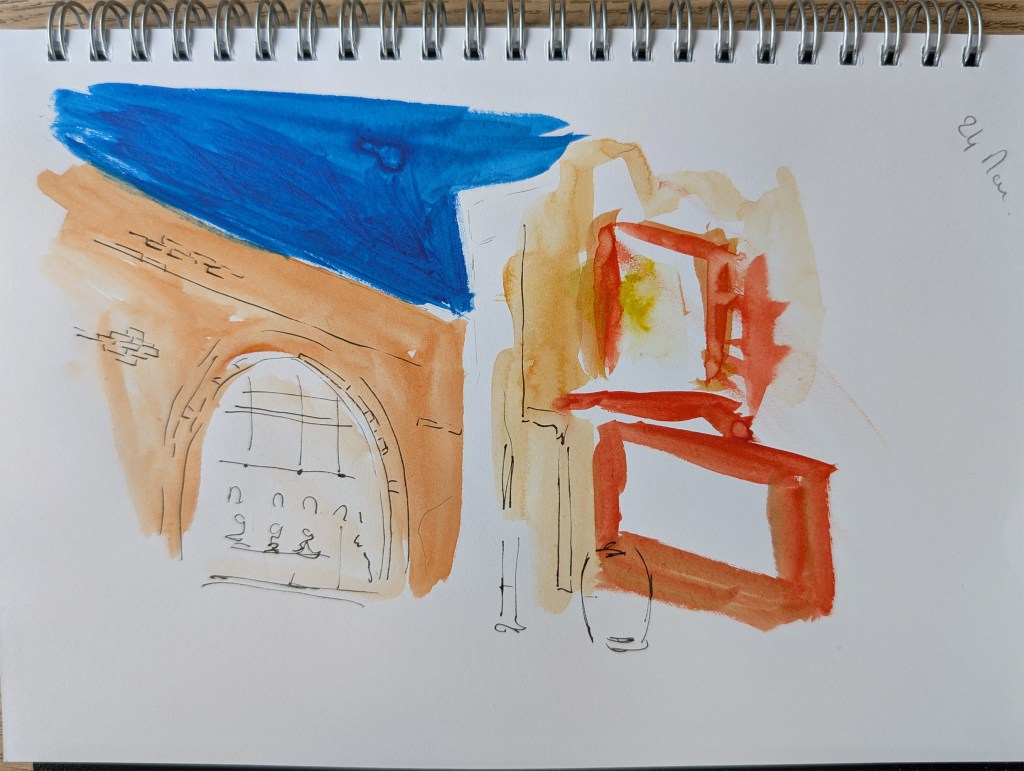


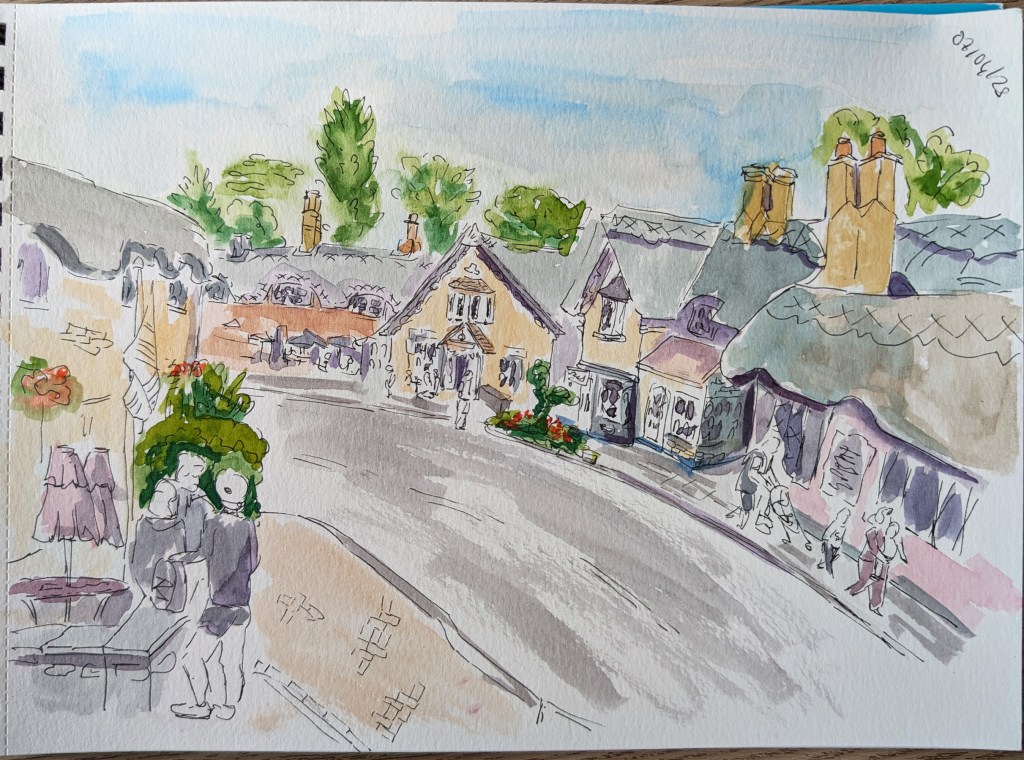
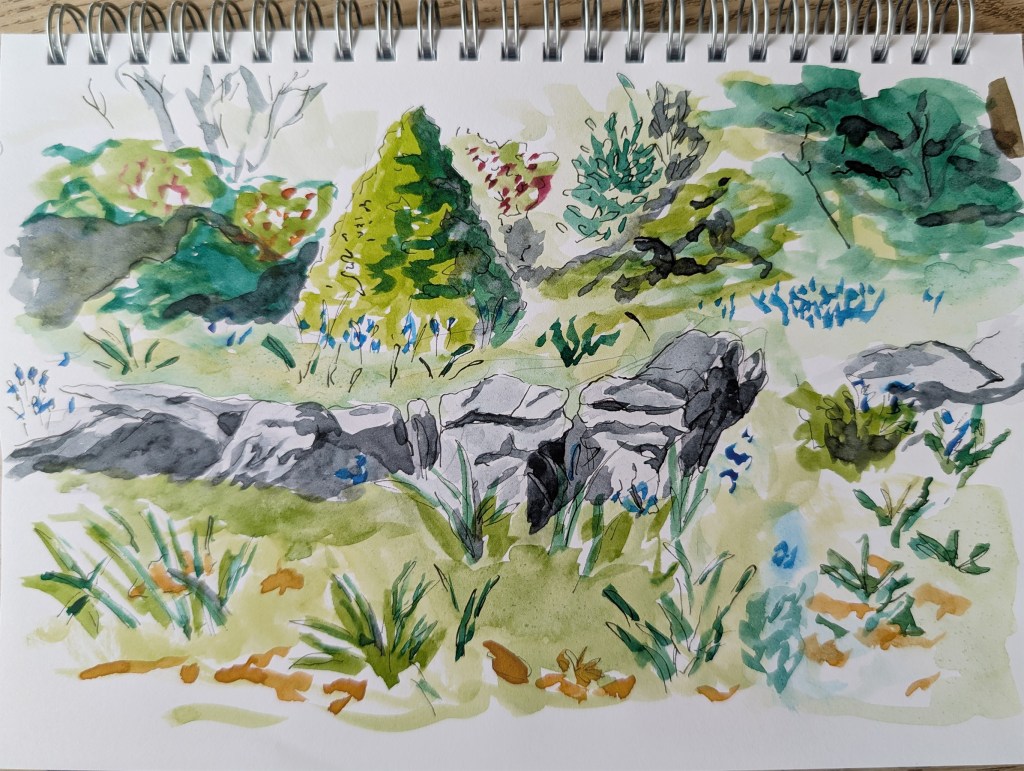
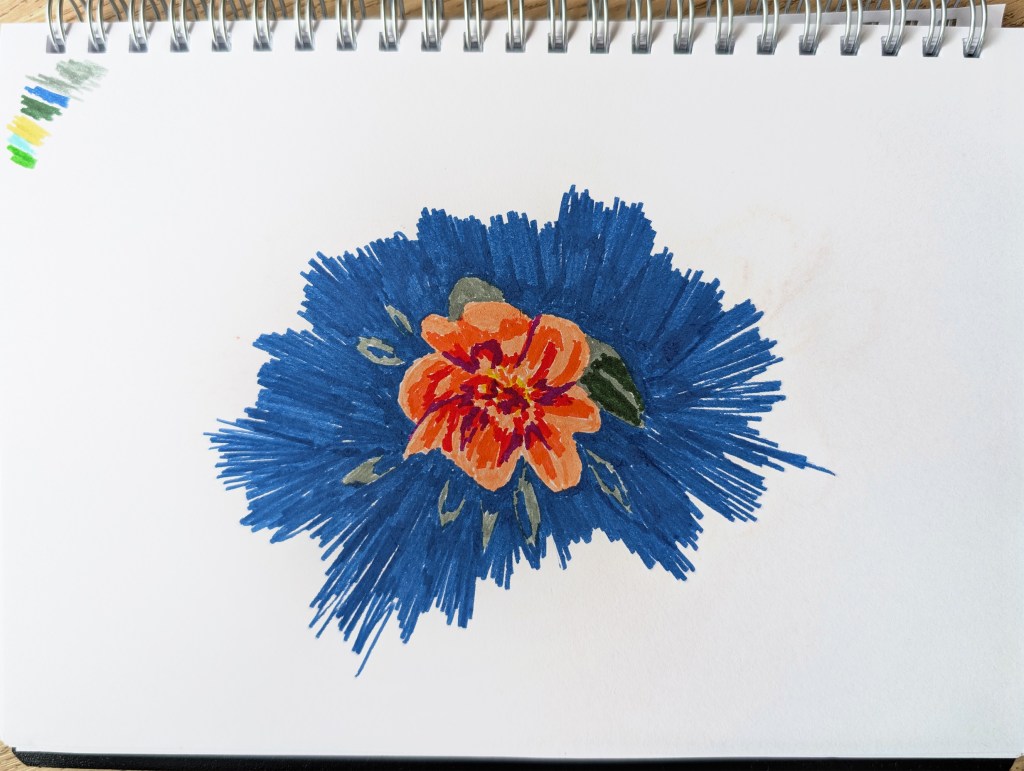
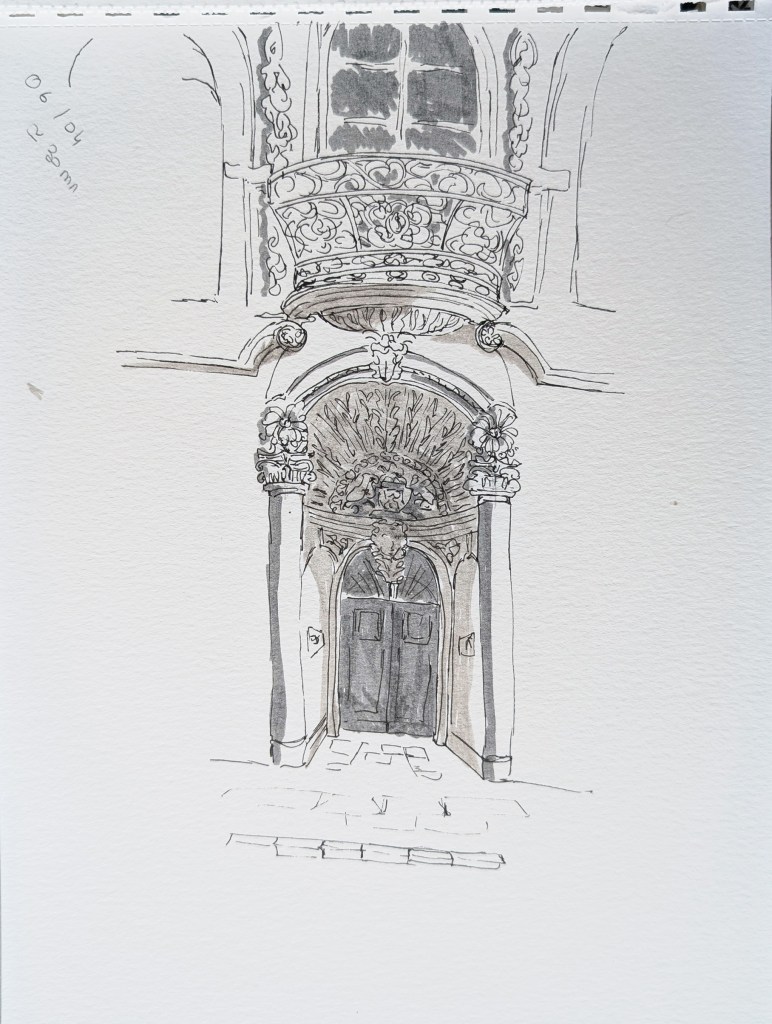
The first sketch was done on location. The others were created at home. In some cases, I used only grey markers to concentrate on highlights and shadows without the distraction of colours. When I created the drawing with trees and stones (bottom left-hand side), I followed the advice of Shari Blaukopf (Blaukopf, S. (2019). Working with color : techniques for using watercolor and color media on the go. Beverly, MA: Quarry Books.) and used only three primary colours that I mixed to obtain the combinations I wanted. I like this technique as the outcome is more harmonious.
I would like to use watercolour more as I really enjoy it. I also intend to practice applying highlights and shadows to create more contrast.
Commute
I have not done so much sketching during commuting. I felt that it was being a bit repetitive. As a result, it was difficult to keep motivated.


However, this is still a very good exercise, and I should carry on making quick sketches even if I have only a few minutes.
Other sketches
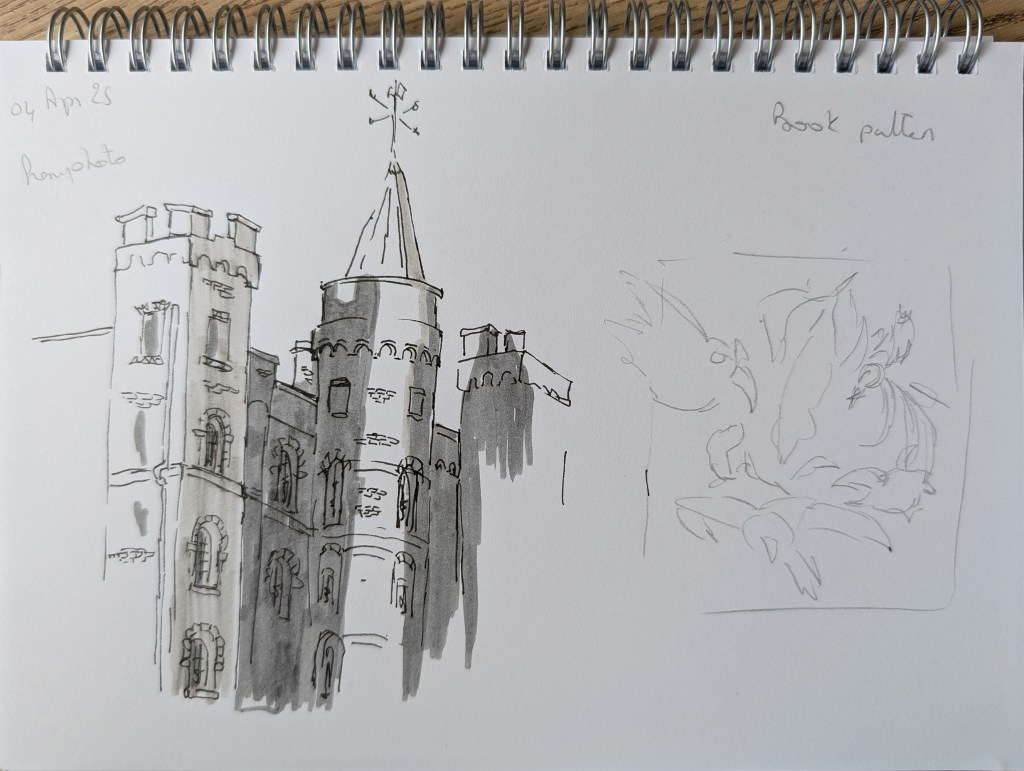
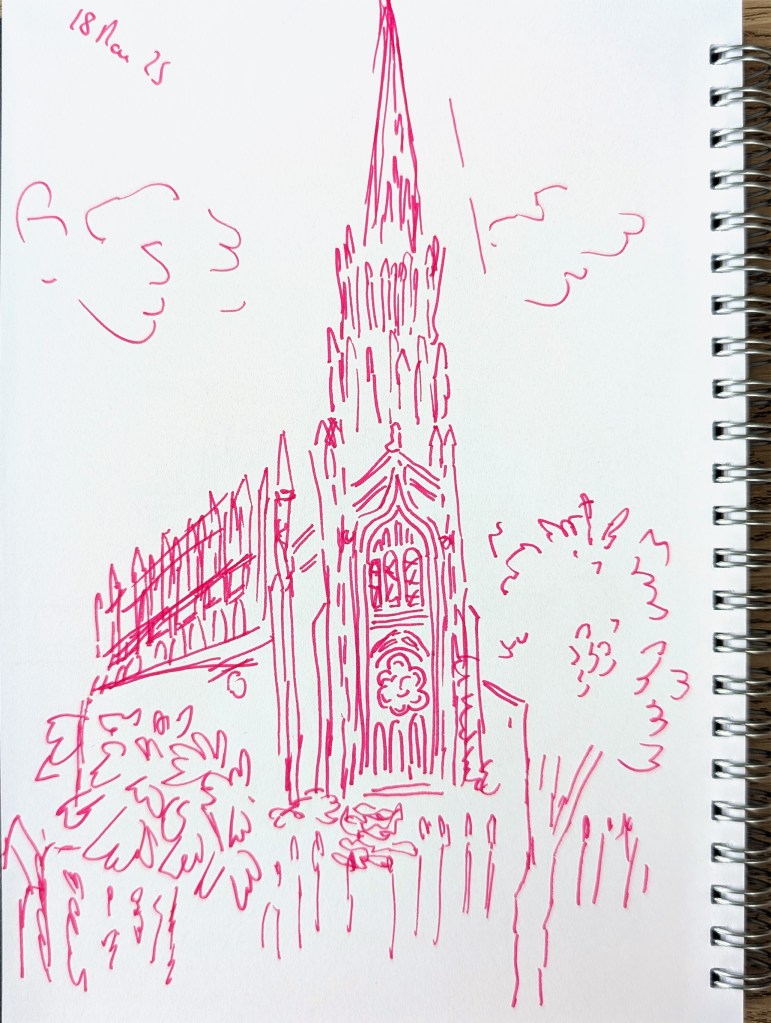
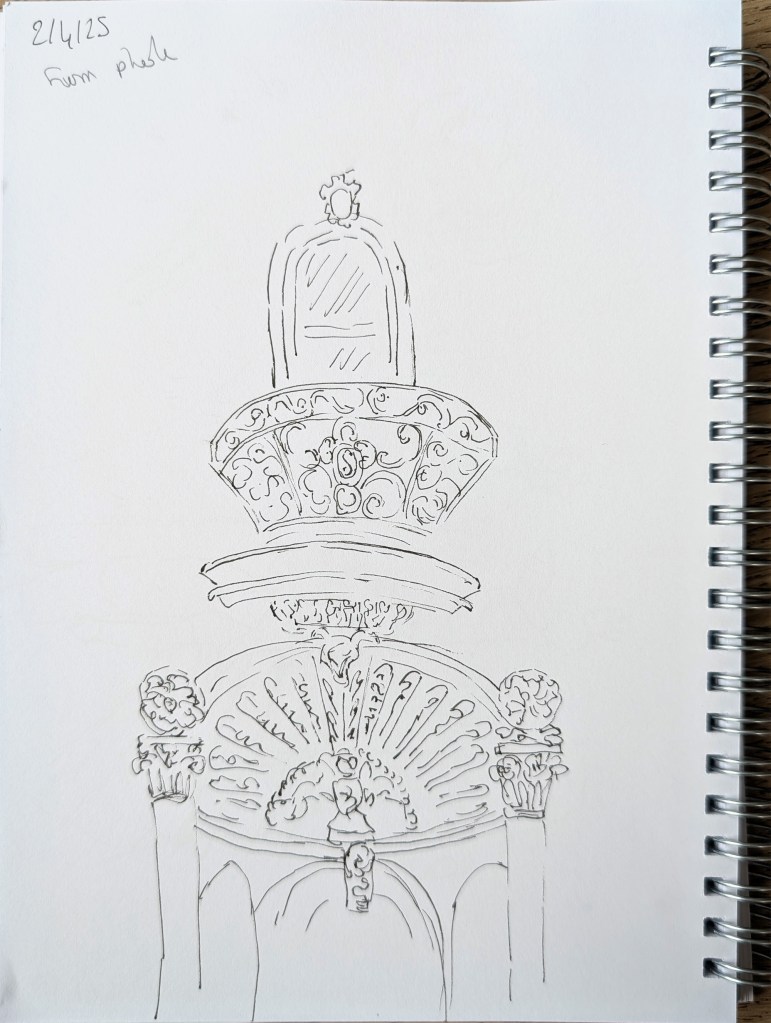
I have created various sketches at home. I have noticed that I often choose an interesting building or part of a building as a subject as I like capturing the intricacy of the structure.
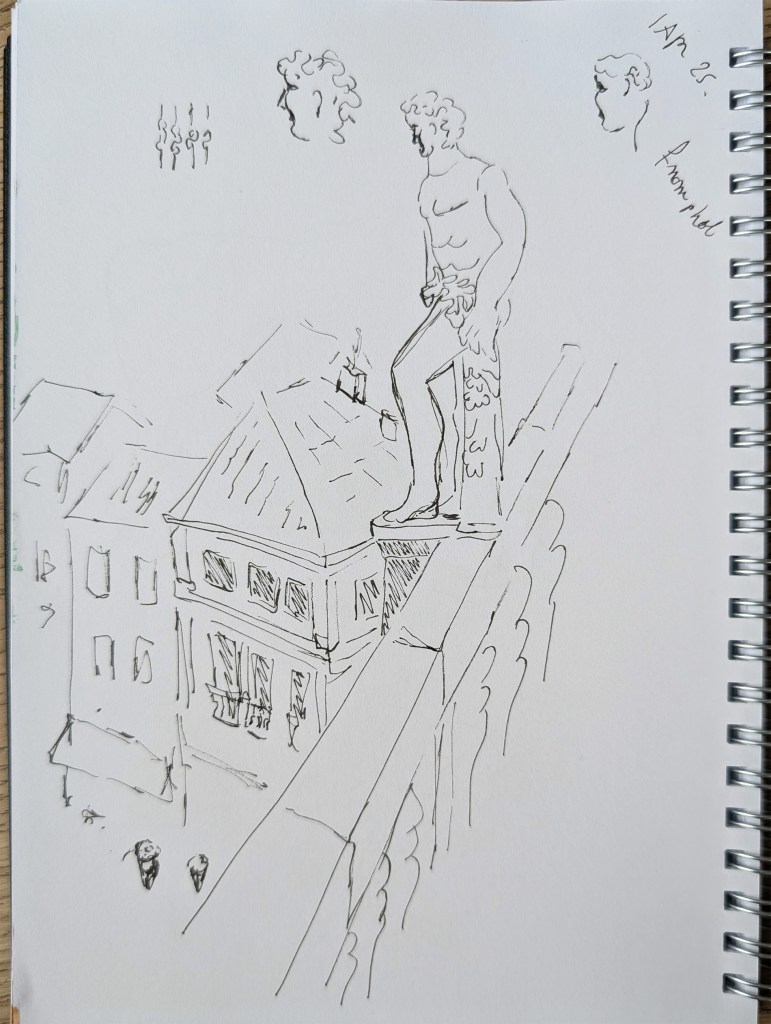

Sketching part of a photo often gives some surprising outcomes that could be an inspiration for an illustration. I think that the second sketch with the statue looking down at the city has some potential.
Research
I have not carried out as much research as I intended in certain areas. I would have liked to spend more time on studying the work of some artists. I have already researched some in the past such as Suhita Shirodkar or George Butler, but it would be interesting to compare the techniques of a few artists to see how this could help me with my practice.
In this section, my research has been more focussed on anatomy through videos as mentioned above.
I have found the books from the collection “The Urban Sketching Handbook” very useful. They include some insightful advice on compositions, colours, inspirations,… with many examples of sketches from different artists.
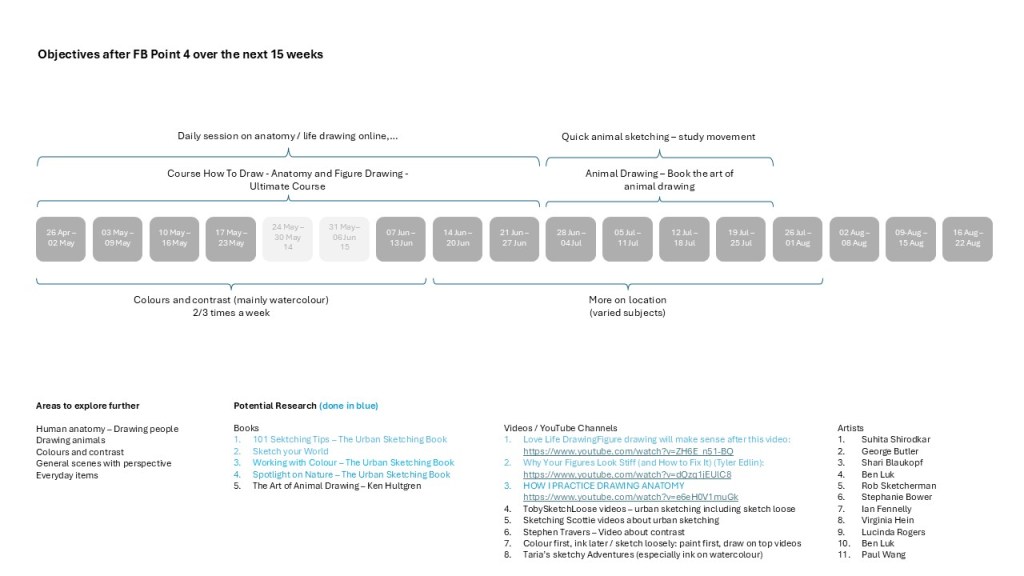
Timeline
I have created a timeline to see how I could organise my sketching practice. I have modified it a few times already as my needs evolve all the time. This is the latest version.
Conclusion
One of the main challenges can be to find something to sketch at the end of a working day. That’s why it might help to have a timeline with a working plan even if it is edited regularly.
I have identified many areas I would like to concentrate on, but I have also decided that it is better to focus on a limited number of areas at a time. Not only does it mean that I will notice some progress, but focussing on one aspect will help in many different ways. For instance, if I can capture dynamic poses better when I draw people, it will help when I draw animals.
